How to Make Fried Ice Cream: Crispy, Creamy Perfection at Home
Imagine a dessert that defies expectations: a sphere of lusciously creamy, perfectly chilled ice cream, encased in a golden-brown, irresistibly crunchy shell. Sounds like something only a professional chef could create, right? Think again! Making restaurant-quality fried ice cream at home is not only achievable but also surprisingly fun. This comprehensive guide will walk you through every step, ensuring your homemade version is a show-stopping success, just like the reviewers say: "So good and very easy to make!"
Fried ice cream may seem like an oxymoron, a delightful paradox that tantalizes the taste buds. Yet, it's a culinary marvel that relies on a clever interplay of temperatures and textures. From the initial chill of the core to the warm, crispy exterior, each bite is an adventure. Whether you're a seasoned baker or a dessert novice, this guide will equip you with the techniques, tips, and confidence to master this decadent treat.
The Culinary Magic Behind Fried Ice Cream
At its heart, the genius of fried ice cream lies in a simple scientific principle: extreme temperature contrast. By deep-freezing a scoop of ice cream to an incredibly solid state and then quickly frying it in hot oil, you create a protective, crispy crust that insulates the cold interior. The speed of the process is key, allowing the exterior to crisp and warm without the inside melting into a puddle.
This dessert isn't just about the novelty; it's about the incredible textural experience. You get the satisfying crunch of the coating, followed by the smooth, yielding creaminess of the ice cream, all in one mouthful. It’s a sensory delight that has made it a beloved staple in many cuisines, particularly in Mexican and Asian restaurants, and now, your very own kitchen!
Choosing Your Ingredients: The Foundation of Flavor
The success of your homemade fried ice cream largely hinges on selecting the right ingredients. Don't skimp here; quality makes a noticeable difference.
- The Ice Cream:
- High-Fat Content: This is crucial. Ice creams with higher fat content (like premium brands, gelato, or even Italian ice cream) freeze harder and melt slower, providing a more stable core for frying. Avoid low-fat or "light" versions, as they tend to melt too quickly.
- Flavor: Vanilla is the classic choice, offering a neutral canvas for various toppings. However, don't shy away from experimenting! Dulce de leche, chocolate, strawberry, or even mint chip can be divine.
- The Coating: This is where you can truly customize. The goal is a crust that gets super crunchy without burning.
- Cornflakes: The traditional choice. Crush them finely but leave some texture. They provide a neutral, satisfying crunch.
- Cinnamon Toast Crunch or Other Cereals: As noted by reviewers, Cinnamon Toast Crunch is a fantastic alternative, adding a delightful cinnamon-sugar flavor. Other ideas include Frosted Flakes, Rice Krispies (for a lighter crunch), or even crushed graham crackers or Nilla wafers for a different flavor profile.
- Flavor Boosters: Mix crushed cereal with a tablespoon or two of sugar and a teaspoon of ground cinnamon for that authentic Mexican restaurant flair.
- The Binding Agent:
- Typically, an egg wash (beaten eggs with a splash of milk or water) or just plain milk/cream is used to help the coating adhere firmly to the ice cream.
- The Frying Oil:
- High Smoke Point: Use an oil that can withstand high temperatures without burning or imparting off-flavors. Vegetable oil, canola oil, or peanut oil are excellent choices.
- Sufficient Quantity: You'll need enough oil for deep frying – at least 2-3 inches in a deep pot or Dutch oven.
Step-by-Step Guide to Crispy, Creamy Perfection
Now that you have your ingredients ready, let's dive into the process. Precision and patience are your best friends here!
- Scoop and Initial Freeze:
- Using an ice cream scoop, form firm, uniform balls of ice cream. Work quickly to prevent melting.
- Place the scooped ice cream balls on a baking sheet lined with parchment paper.
- Freeze them for at least 2-3 hours, or preferably overnight, until they are rock-solid. This step is non-negotiable for success!
- Prepare Your Coating Station:
- Crush your chosen cereal (cornflakes, Cinnamon Toast Crunch, etc.) into fine crumbs with some larger pieces for texture. Place them in a shallow dish.
- In another shallow dish, prepare your binding agent: whisk 1-2 eggs with a tablespoon of milk or cream.
- Coat and Double Freeze:
- Working one at a time, quickly roll a frozen ice cream ball first in the egg wash, ensuring it's fully coated.
- Immediately transfer it to the crushed cereal, pressing firmly to adhere the crumbs all over the ball. For extra protection and crispiness, consider a double coat: dip it in the egg wash and crumbs again. This creates a thicker barrier against the hot oil.
- Return the coated ice cream ball to the parchment-lined baking sheet. Repeat with the remaining ice cream balls.
- Crucial Second Freeze: Once all balls are coated, return the entire tray to the freezer for a minimum of 4-6 hours, or ideally overnight. The colder the ice cream, the less likely it is to melt during frying. This is your insurance policy for success! For more specific tips on preventing melting, check out our guide on Fried Ice Cream Secrets: Prevent Melting & Master the Crispy Shell.
- The Moment of Truth: Frying!
- In a deep pot, Dutch oven, or deep fryer, heat 2-3 inches of your chosen oil to 375°F (190°C). Use a candy or deep-fry thermometer to ensure accuracy.
- Working with one or two ice cream balls at a time (do not overcrowd the pot, as this lowers oil temperature), carefully lower them into the hot oil using a slotted spoon or spider.
- Fry for only 30-60 seconds, or until the coating is golden brown and crispy. This is a very quick process!
- Promptly remove the fried ice cream with a slotted spoon and place it on a plate lined with paper towels to drain any excess oil.
- Serve immediately with your favorite toppings.
Mastering the Fry: Tips for Preventing Melt-down
Achieving that perfect crispy exterior and still-frozen interior requires attention to detail. Here are some pro tips:
- Temperature Control is King: Always use a thermometer. If the oil isn't hot enough, the coating will absorb too much oil and become greasy, and the ice cream will melt before the crust crisps. If it's too hot, the coating will burn before the ice cream is properly insulated.
- Work Quickly: Have your coated ice cream balls ready in the freezer, your oil at temperature, and your serving plates prepped. The faster you can get the ice cream from freezer to oil to plate, the better.
- Don't Overcrowd the Pot: Frying too many ice cream balls at once will drop the oil temperature significantly, leading to soggy crusts and melted interiors. Fry in small batches if necessary.
- Making Ahead: You can prepare and coat the ice cream balls a week or two in advance. Store them in an airtight container in the deep freezer until you're ready to fry. Just ensure they are wrapped well to prevent freezer burn.
Serving Suggestions & Customization Ideas
Once your fried ice cream is hot out of the oil, it's time to make it even more magnificent with toppings! This is where you can truly let your creativity shine:
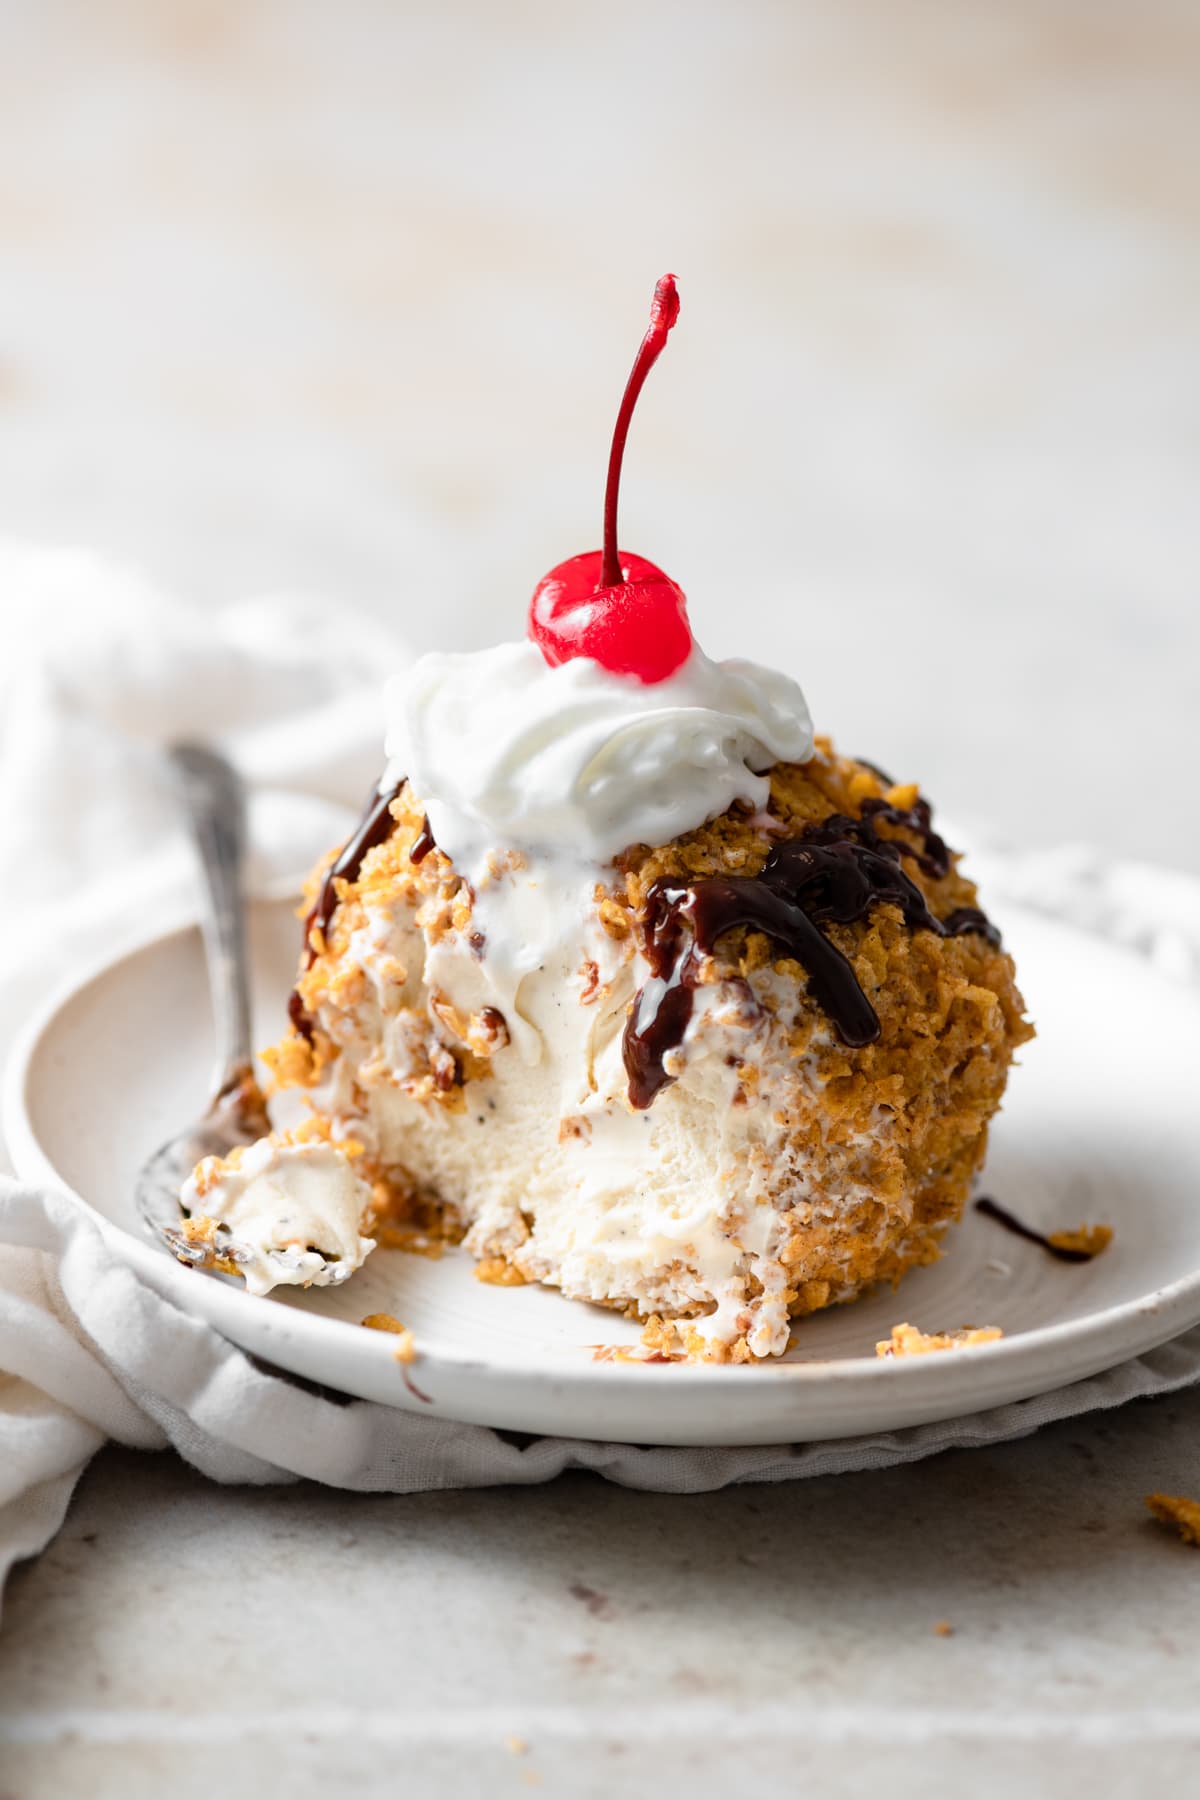
- Classic Combos: A dollop of whipped cream, a drizzle of honey or chocolate syrup, and a maraschino cherry are timeless favorites.
- Mexican Restaurant Style: A sprinkle of extra cinnamon sugar, a caramel drizzle, or even a shot of tequila for adult versions can elevate the experience.
- Fruity Freshness: Fresh berries (strawberries, blueberries, raspberries), sliced bananas, or a warm fruit compote can add a bright, tangy contrast.
- Nutty Crunch: Chopped peanuts, pecans, or almonds provide another layer of texture.
- Sweet Sauces: Beyond chocolate and caramel, consider a warm berry sauce, dulce de leche, or even a white chocolate drizzle.
- Gluten-Free Options: For those with dietary restrictions, simply use gluten-free cereals (like certified gluten-free cornflakes or rice puffs) for your coating.
For more innovative crust ideas and delicious topping pairings, dive into our Easy Fried Ice Cream Recipe: Custom Crusts & Perfect Toppings.
Making fried ice cream at home is a delightful culinary adventure that promises a truly unique dessert experience. The contrast of the crispy, warm crust against the icy, creamy interior is simply divine, creating a memorable treat that's perfect for summer evenings, festive gatherings, or just a special indulgence. With the right ingredients, careful preparation, and a little attention to detail, you'll be serving up this restaurant-quality dessert with confidence and flair. So, grab your favorite ice cream and get ready to impress your taste buds and your guests!
