Imagine biting into a dessert where a surprisingly warm, crunchy exterior gives way to a perfectly chilled, velvety smooth ice cream core. Sounds like magic, right? This decadent delight is none other than homemade fried ice cream, a dessert often associated with specialty restaurants but remarkably achievable in your own kitchen. Forget the myth that it's too complicated; with the right approach to preparation, custom crusts, and perfect toppings, you can master this show-stopping treat with ease. We're here to guide you through crafting a crispy, creamy masterpiece that will elevate your dessert game.
Fried ice cream is more than just a dessert; it's an experience. The delightful contrast of temperatures and textures makes it truly unforgettable. Whether you're wrapping up a spicy meal or celebrating a summer evening, a scoop of this frozen wonder is always a hit. This comprehensive guide will arm you with all the tips and tricks, from choosing the ideal ice cream to experimenting with unique coatings and delicious garnishes. Let's dive in and unlock the secrets to creating restaurant-quality fried ice cream at home!
The Foundation: Choosing & Preparing Your Ice Cream
The journey to perfect fried ice cream begins before any heat is involved. The quality and preparation of your ice cream are paramount to achieving that irresistible crunchy shell and still-chilled center.
Selecting the Ideal Ice Cream
Not all ice creams are created equal when it comes to frying. For the best results, opt for a high-fat, premium ice cream with a smooth, dense texture. Varieties like gelato or high-quality artisanal ice cream work exceptionally well because they contain less water and fewer ice crystals, making them more resistant to melting during the brief frying process. Classic vanilla is a fantastic starting point, but don't shy away from experimenting with flavors like dulce de leche, strawberry, or even chocolate to match your custom crusts.
Forming and Freezing for Success
This step is non-negotiable for preventing a melty disaster. Firmly packed, deeply frozen ice cream balls are your best defense against premature melting. Here’s how to do it:
- Scoop and Shape: Use a standard ice cream scoop to create uniform balls. With clean hands, quickly roll them into compact, smooth spheres. The quicker you work, the less they'll melt.
- First Freeze: Place the shaped ice cream balls on a parchment paper-lined baking sheet. Ensure they aren't touching. Freeze them for at least 2-4 hours, or until they are rock solid.
- The Double Freeze Advantage: For an extra layer of protection, consider a double freeze. After applying your chosen crust (more on that below), return the coated balls to the freezer for another several hours, or even overnight. This crucial step ensures the core remains icy cold when it hits the hot oil (or is simply served with a pan-toasted crust). For more in-depth strategies on keeping your ice cream intact, check out our article on Fried Ice Cream Secrets: Prevent Melting & Master the Crispy Shell.
Unleash Your Creativity: Custom Crusts & Coatings
The crunchy exterior is what defines fried ice cream, and this is where you can truly let your culinary imagination run wild. Beyond the classic, there's a world of textures and flavors to explore.
Classic Cornflake Crunch
The most traditional coating, cornflakes, provides an excellent crispy texture that holds up well. To prepare:
- Crush cornflakes coarsely in a food processor or by hand in a sealed bag. You want a mix of fine crumbs and small flakes for the best texture.
- For extra flavor, toast the crushed cornflakes in a dry pan over medium heat until lightly golden and fragrant. You can also mix in a tablespoon of sugar and a teaspoon of ground cinnamon for a churro-like effect.
Cereal Blends & Beyond
Why stop at cornflakes? Many enthusiasts love to experiment with other cereals:
- Cinnamon Toast Crunch: This cereal provides a built-in cinnamon-sugar flavor that’s absolutely divine and instantly reminiscent of Mexican restaurant-style fried ice cream. Just crush and coat!
- Oatmeal or Granola: For a heartier, nutty crust, crushed plain or flavored oatmeal or granola can be a fantastic choice.
- Cookie Crumbs: Crushed Oreos, Nilla Wafers, or graham crackers offer a softer, sweeter crust that pairs wonderfully with various ice cream flavors.
- Pretzel or Nut Crumb: For a sweet and salty twist, finely crushed pretzels or toasted chopped nuts (like pecans or almonds) add a sophisticated crunch.
Applying the Coating
Once your ice cream balls are frozen solid and your chosen coating is ready, it's time to assemble. Work quickly! Roll each frozen ice cream ball firmly in your crushed coating until it's completely covered. Gently press the crumbs onto the surface to ensure they adhere. Remember, a well-coated ball is a well-protected ball against melting. After coating, return them to the freezer immediately for that crucial second freeze.
Frying Techniques: Crispy Shell, Chilled Core (Deep-Fry vs. No-Fry)
Now for the exciting part! There are two primary methods to achieve that signature crispy exterior: traditional deep-frying and a clever "no-fry" alternative that mimics the experience.
The Deep-Frying Method
This technique delivers the authentic restaurant-style experience – a truly hot, crunchy shell with a still-frozen interior. It requires quick action and precise temperature control.
- Oil Selection: Use an oil with a high smoke point, such as vegetable oil, canola oil, or peanut oil. These oils can withstand the high temperatures needed without burning or imparting off-flavors.
- Heat Management: Heat about 3-4 inches of oil in a deep frying pan or Dutch oven to a precise 375°F (190°C). An oil thermometer is highly recommended here to prevent the ice cream from melting too quickly or the crust from burning.
- Quick Fry: Working in batches of one or two at a time, carefully lower the rock-hard, coated ice cream balls into the hot oil. Fry for only 20-40 seconds, or until the crust is golden brown and crispy. This is incredibly fast – the goal is to crisp the coating without melting the core.
- Drain and Serve: Use a slotted spoon to remove the fried ice cream and place it on a plate lined with paper towels to drain excess oil. Serve immediately! For a more detailed guide on mastering the deep-fry process, see our article How to Make Fried Ice Cream: Crispy, Creamy Perfection at Home.
The "No-Fry" Pan-Toasted Method
If you're hesitant about deep-frying or want an even easier approach, this method is a fantastic alternative that still delivers a delightful crunch without the hot oil struggle. It's the "effortless treat" often found for barbecues or festive celebrations.
- Prepare the Coating: Instead of just crushing, pan-toast your chosen cereal (e.g., cornflakes, Cinnamon Toast Crunch, even plain cereal with added cinnamon and sugar) in a dry pan or with a touch of butter over medium heat until fragrant and crisp. Allow it to cool completely.
- Coat and Freeze: Roll your well-frozen ice cream balls in the pan-toasted coating, pressing gently to adhere. Return them to the freezer for a second, deep freeze (several hours or overnight).
- Serve: While not "fried" in the traditional sense, the deeply toasted, crunchy coating around the super-frozen ice cream creates a wonderfully satisfying texture contrast, making it a delicious, no-fuss version of fried ice cream. The best part? The topping often stays crunchy even after several nights in the freezer!
Elevate Your Dessert: Perfect Toppings & Servings
Once your beautiful fried ice cream is ready, the final touch comes with the toppings. These aren't just for decoration; they add another layer of flavor and texture that truly completes the experience.
Classic Combinations
- Whipped Cream, Honey & Cherries: A timeless trio that offers a touch of sweetness and a burst of color.
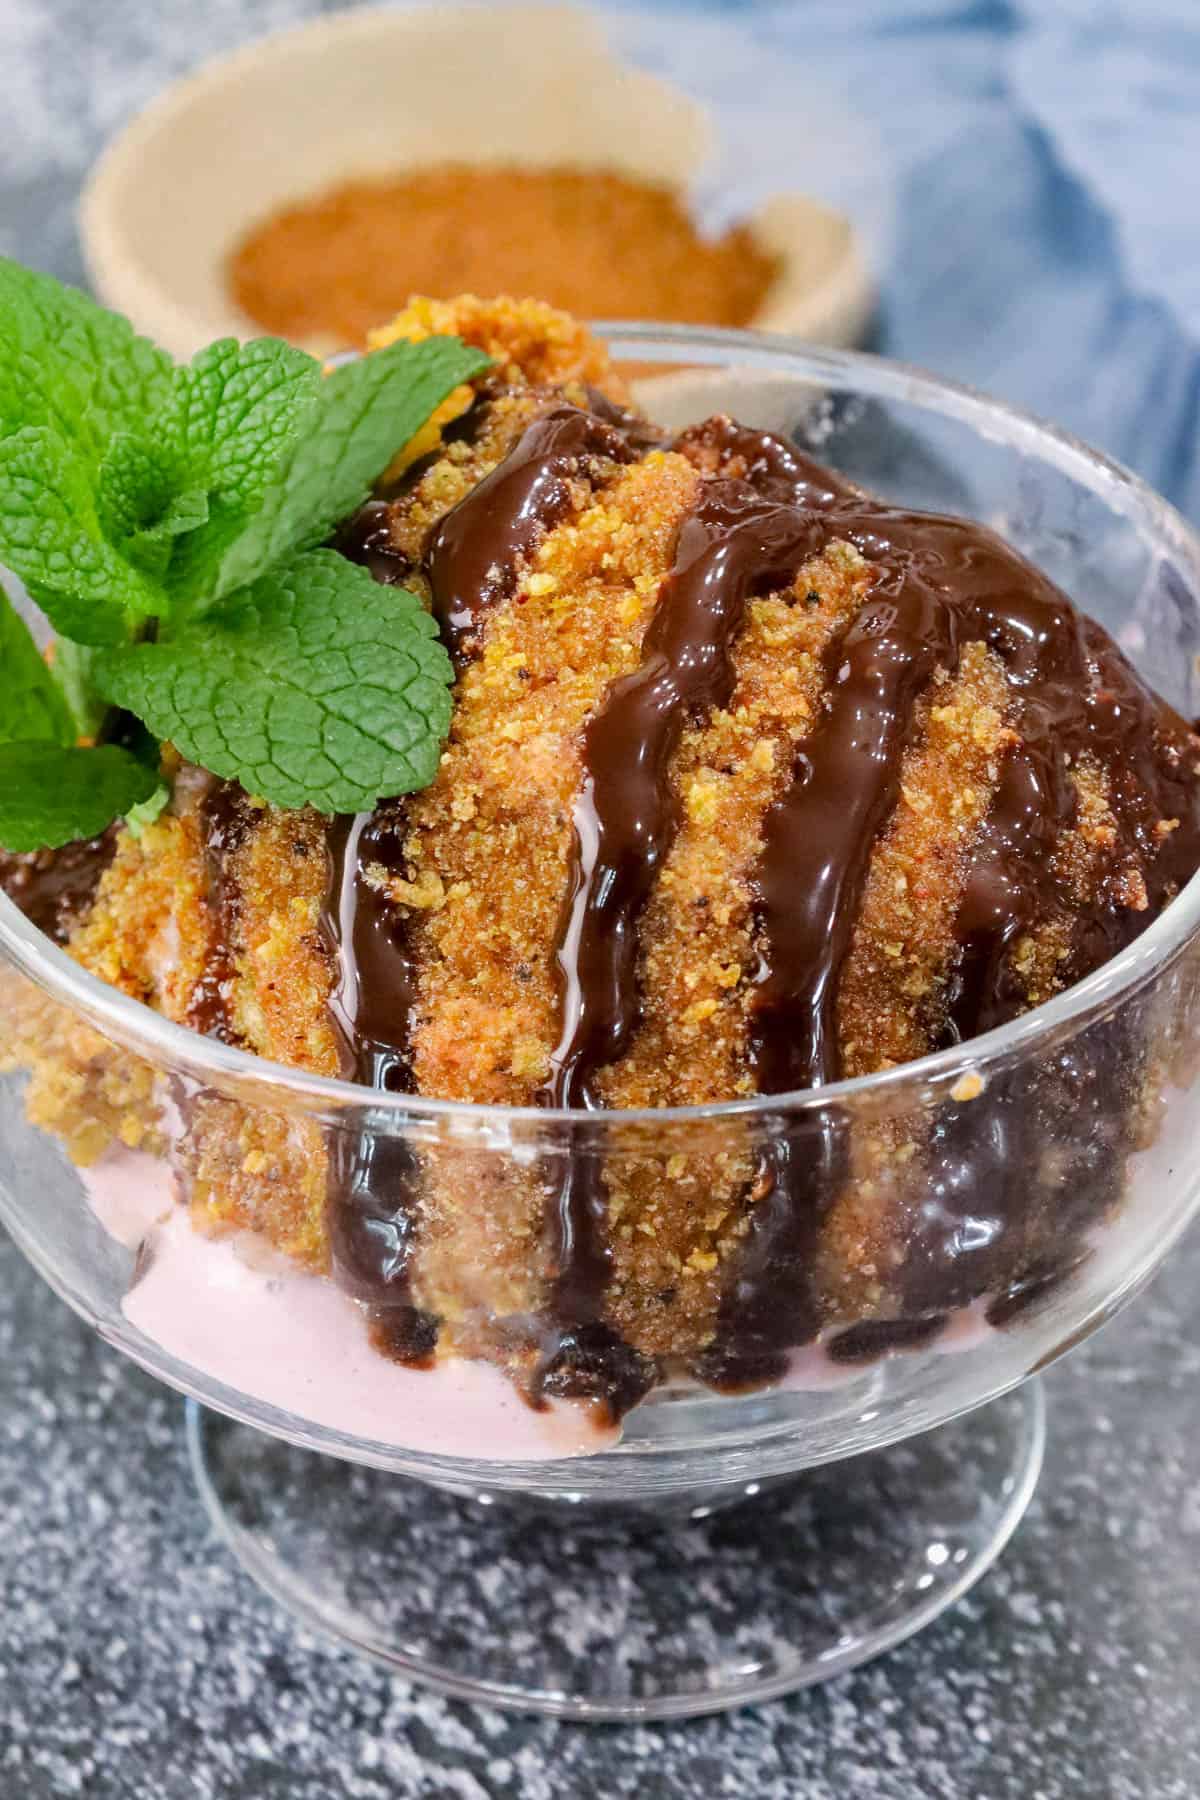
- Chocolate or Caramel Drizzle: A generous swirl of warm chocolate fudge or creamy caramel sauce is always a crowd-pleaser.
- Dulce de Leche: Perfectly complements cinnamon-sugar crusts and adds a rich, luxurious creaminess.
Creative Garnishes
- Fresh Berries: Strawberries, raspberries, or blueberries add a fresh, tart counterpoint to the sweetness.
- Toasted Coconut Flakes or Chopped Nuts: For extra texture and nutty flavor.
- Sprinkles: A fun and colorful addition, especially for a festive occasion.
- Sliced Bananas: Great with chocolate sauce for a "fried banana split" vibe.
Serve your fried ice cream immediately after preparing, ideally on a slightly warm plate to prevent the ice cream from sticking. The goal is for your guests to enjoy that magical hot-and-cold sensation the moment it arrives.
Conclusion
Creating your own delicious fried ice cream is a rewarding culinary adventure that's far simpler than it seems. From selecting the perfect creamy base to crafting custom crusts and drizzling delectable toppings, every step offers an opportunity to personalize this iconic dessert. Whether you opt for the authentic deep-fried crunch or the easy "no-fry" method, the key lies in thorough preparation and a commitment to that crucial deep freeze. So, gather your ingredients, choose your favorite crust, and get ready to impress yourself and your loved ones with a restaurant-quality treat that’s crispy, creamy, and perfectly unforgettable. Happy frying!
